
Overview
If you’re running a business or just planning to start one, a blog is a powerful tool for you to use to help you achieve your goals.
By providing valuable content to your audience for free, they’ll be more engaged with your business and will be more likely to buy your product/service in the future.
Unfortunately, many business owners and marketers do not know how to write a blog post article properly.
In this blueprint, you’re going to learn how to write your first blog post article, even if you’ve never written one before.
How Can You Use This?
- Learn how to write a blog post for your business.
- Share the guidelines with your team so they can help you to create content.
- Learn how to set up your blog post on WordPress.
Tools And Resources
Creating a blog post article for the first time may be challenging especially when you don’t have much experience writing and unfamiliar with how to upload your content to a platform.
In this blueprint, we’ll be covering how you can use WordPress to set up your first blog post article.
This is why we created this blueprint to help you get started on your first blog post article.
As usual, you can download a PDF version of this blueprint here.
What You Need To Know?
Business blogging helps to create more online visibility for your business.
When executed properly, your blog can be used as another marketing channel (such as email marketing and social media marketing).
Remember… You’re not just writing a story about how your day started and ended. You’re writing an effective content to help your business sell.
More Website Visits
When you create a blog post, this will create another indexed page on your website.
This means that there is a higher chance for your page to appear as a result when someone does a search about a topic related to your business on a search engine.
On top of that blog posts also helps to increase your visibility on social media platforms like Facebook and Twitter.
This happens when readers share your blog post and your website link appears in their post.
Nurturing Readers Into Leads
You can engage and nurture readers by getting them to subscribe to your mailing list.
Once they opt-in, you can update them regularly about new content on your website and even send them exclusive offers for your products/services.
Another way you can get your website visitors to opt-in is by using lead magnets in your blog posts.
If you want to learn more about how to create effective lead magnets, you can refer to our ‘How To Create Lead Magnets That Gets You Highly Qualified Leads’ blueprint.
Establish Authority
By constantly creating content that’s helpful to your target audience, they will perceive you as an authority in your field.
On top of that, by sending them content regularly, you will condition readers to keep your brand at the top of their minds..
Long-Term Results
Evergreen blog posts tend to have a compounding effect over time.
As your blog posts get more and more views and leads over time, your rankings on the search engines will improve.
This means that you can continue to get website visitors and leads from your old blog posts in the long run.
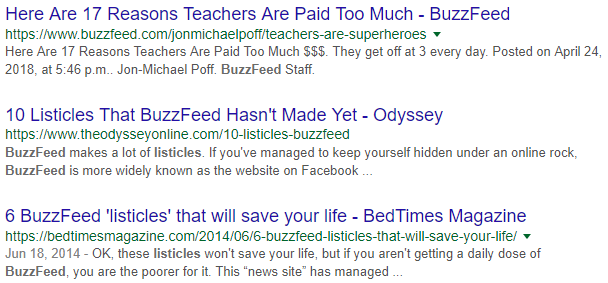
Listicles
A listicle is basically a list of compiled things.
It is one of the simplest types of blog post that you can put together.
This type of blog post is used by many social websites like BuzzFeed.
Here are some examples of listicles:
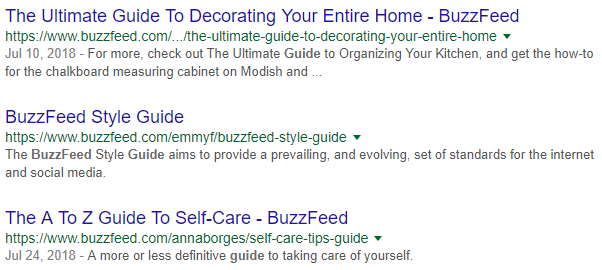
Guides
This is commonly known as how-to blog posts.
In general, they provide step by step information that helps readers to achieve a specific goal.
Our blueprints are an example of this type of blog post.
Here are more examples of guides from Buzzfeed:
Case Studies
A case study is a real-life example of how your product/service was able to help your customer achieve their goals.
It recounts in detail the problems that your customer was facing and how you helped to solve them.
Essentially, readers will be able to see your customer’s journey from start to finish.
They’ll be able to analyse your claims using the data that you provide in the post.
This type of blog post is especially useful if your product/service requires a significant amount of investment.
Below is an example of a case study post by Canva:
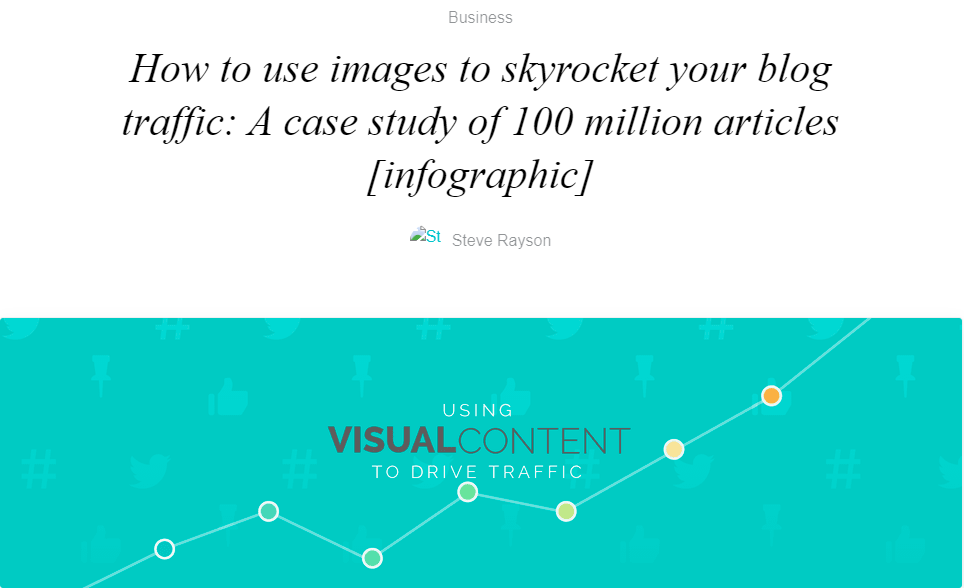
(Credit: Canva)
Checklists
A checklist is a series of points that readers can go through to help them make certain decisions or reach a certain conclusion.
An example of a checklist is our ‘Fix Your Campaign Checklist’ blueprint.
This checklist is useful for you to diagnose most (if not all) the possible problems you might experience when you’re running your campaigns.
The Process
There are basically 5 steps to writing your first blog post.
You start off with an objective for your content. Your objective has to be aligned with your business and marketing objectives.
When you’re clear about your objective, the next step is to brainstorm for ideas. This can be done by listing down ideas at the top of your head.
Or you can review existing blog posts in your industry for inspiration and give your own unique twist to it.
Next, you pick one topic and the type of blog post that you’ll create.
Once you’ve written your blog post, the next step is to edit it. The tool we’ll be using in this blueprint is Grammarly and we have a checklist for you to use too.
Last but not least, we’ll share how you can upload your blog post to WordPress.

Before you start brainstorming, it is crucial that you understand what is the goal of your post.
This will give you clarity on what you are writing and why.
It also ensures that your blog post will address a specific desire or pain that your readers are currently facing.
To come up with the objective of your blog post, write down what readers will do after they’ve read your blog post.
Do you want them to opt-in for your mailing list? Check out your product or service? Or simply comment and share their views on your content.
Using Personal Knowledge
The first thing you need to do is to brainstorm a list of ideas that your target audience will be interested in.
Write down the 3-5 ideas that either meet their desires or help them overcome their challenges.
It’s useful to have an ideal customer avatar in front of you when you write. Imagine you’re having a personal conversation with the ideal customer.
If you want to learn how to put together an ideal customer avatar for your marketing and advertising, you can check out our ‘How To Create An Ideal Customer Avatar’ blueprint.
Using Moz To Find More Ideas
Alternatively, you can use a keyword explorer like Moz to find out the popular searches on Google for a particular topic.
Go to https://moz.com and create an account.
After that, go to https://moz.com/explorer.
Type in the topic that you want to research about. In our example, we are using the topic, ‘How To Lose Weight’.
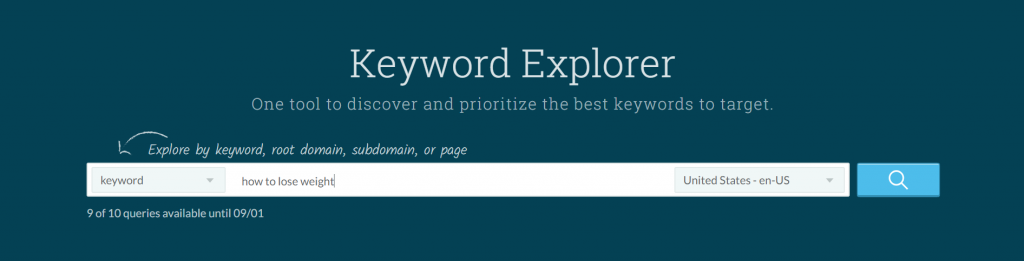
(Credit: Moz)
You will see a list of keyword suggestions and the number of people who search that phrase per month.
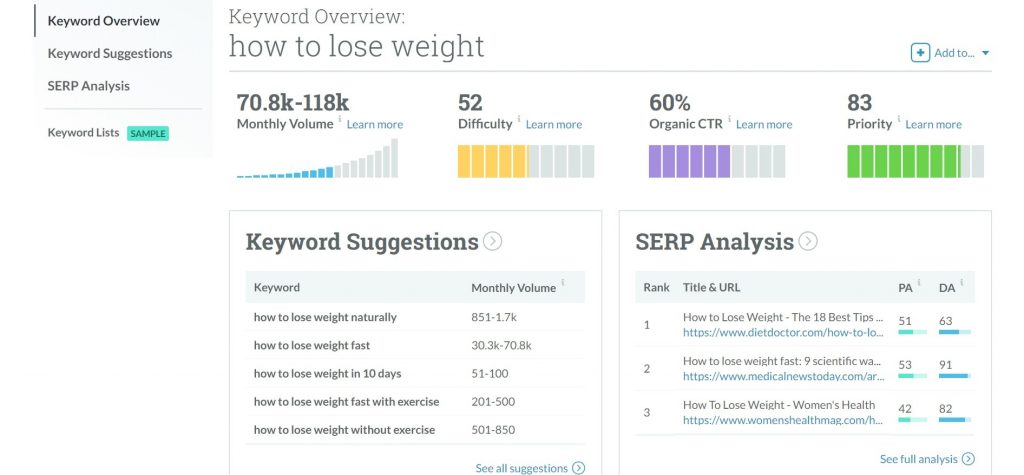
You can click ‘See all suggestions’ and click on the ‘Monthly Volume’ header to rank the topics from the highest volume to lowest volume.
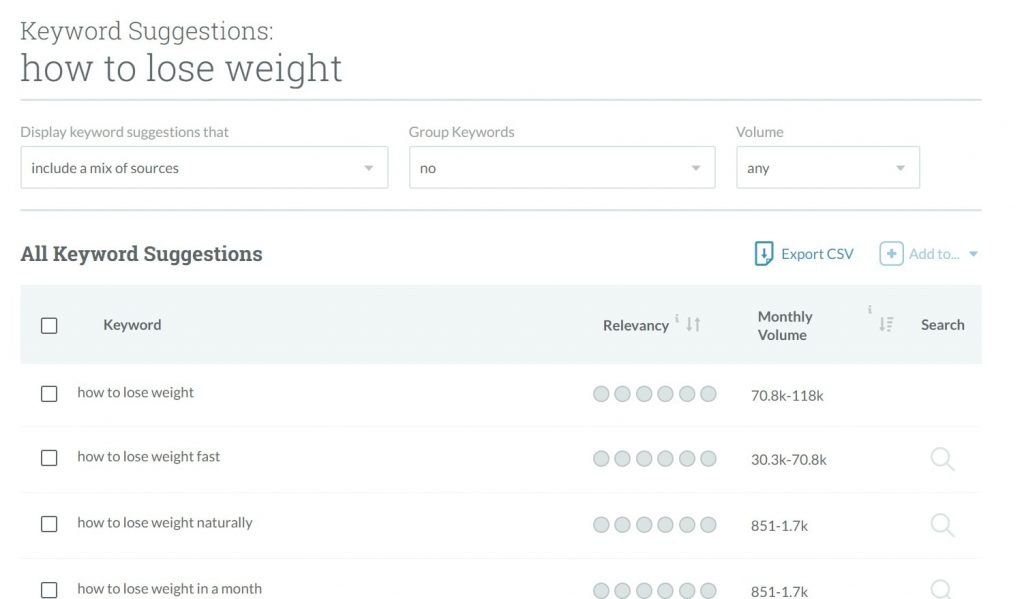
You can use this list to come up with variations for topics for your blog post.
At the end of your brainstorming stage, you should have a list of topics to write about.
Pick A Topic
You should pick a topic that your market is genuinely interested in.
The topics should also be different from what your competitors already covered in their content.
This is why it’s so important to research on what is been covered by your competitors (as covered in the last section).
Use An Outline
Once you have a topic, you can start brainstorming the points you want to cover.
You can do more in-depth research on Google or go through the content page of well-known books on the topic.
One of our favourite references is the “For Dummies” series which usually provides a wide scope for the topics covered.
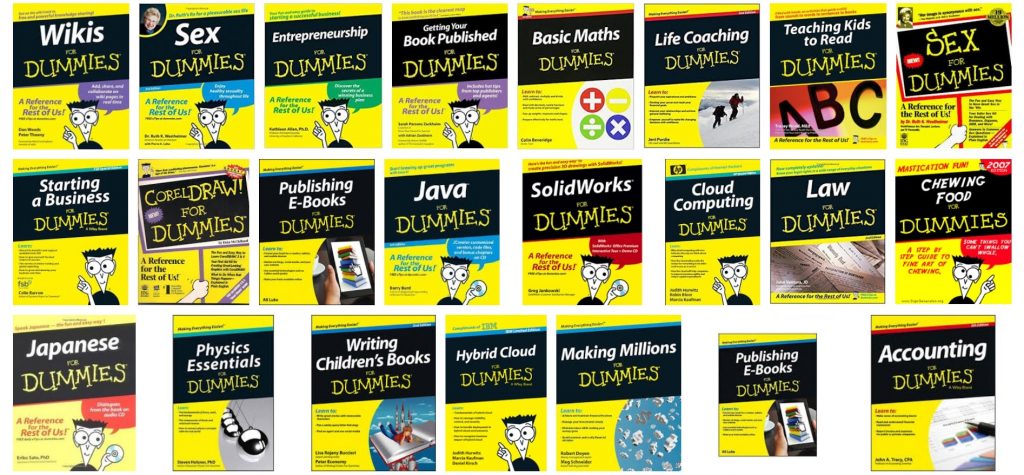
(Credit: For Dummies)
To add value to your blog post, you can also add interesting facts and figures that will keep your readers engaged.
As I do my research, I like to use tools to keep track of the research.
Notepad, Microsoft Word, and Google Docs are some of the handiest tools you can use to keep notes of your research. For example, I keep reference links in one Google Document as I’m doing my research.
Of course, you can simply use a pen and a notebook. Classic never gets old, right?
But, if you want to be more organized in keeping track of everything, there are also free apps you can download.
Here are a few of the popular ones we have used. You can check them out and choose which one best suits your needs:
- Evernote
- Google Keep
- Microsoft OneNote
- Simplenote
- Hackpad
- Dropbox Paper
- Apple Notes
- Zoho Notebook
- Box Notes
- Quip
- Bear
You can rearrange the points in a logical manner that makes sense for the reader.
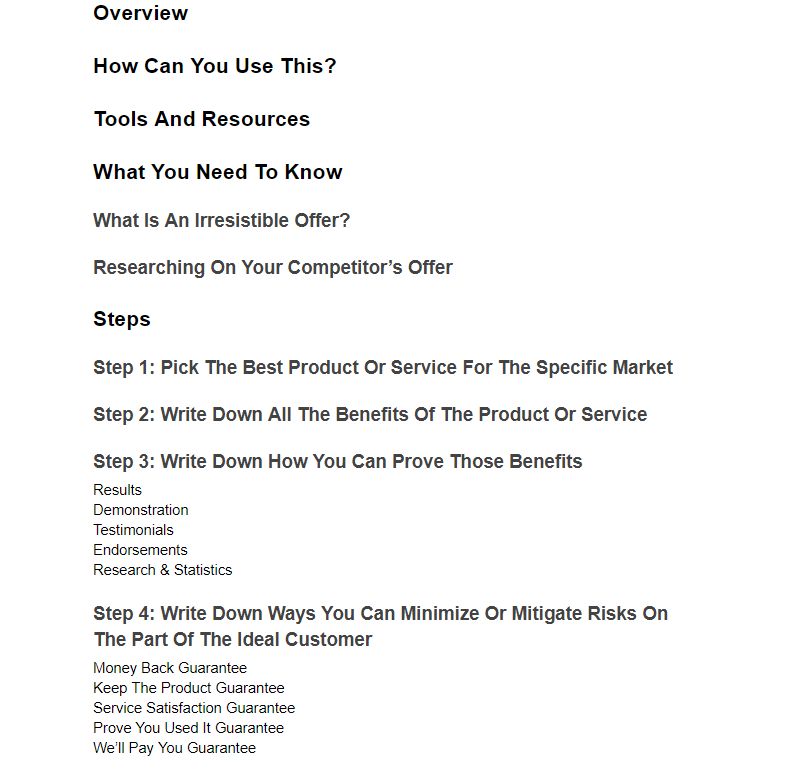
I recommend you start off by creating a “skeleton” for your post and fill up each point with key points you want to cover.
Here’s an example of an outline that we did for our ‘How To Create An Irresistible Offer’ blueprint.
Allocate Time To Write
Writing takes time and effort especially if this is your first time doing so.
I recommend putting aside about 30 minutes to an hour per day to write. Give yourself a word count goal (300 words per day) and stick to it.
You’ll be surprised how much you can write within a short period of time.
One of the mistakes that first time writers make is to write and edit at the same time.
My best advice is to write as quickly as possible, and cover as many points as you can.
Don’t stop to ‘judge’ what you wrote. We tend to be overly critical of what we write.
And only start editing when you’re done with your first draft.
Always remember to review your work before you publish it.
The first (and easiest) thing to check for is spelling and grammar mistakes.
You can do this with the ‘Spell Check’ tool in Google Docs.
Click Tools > Spelling and Grammar > Check spelling and grammar.
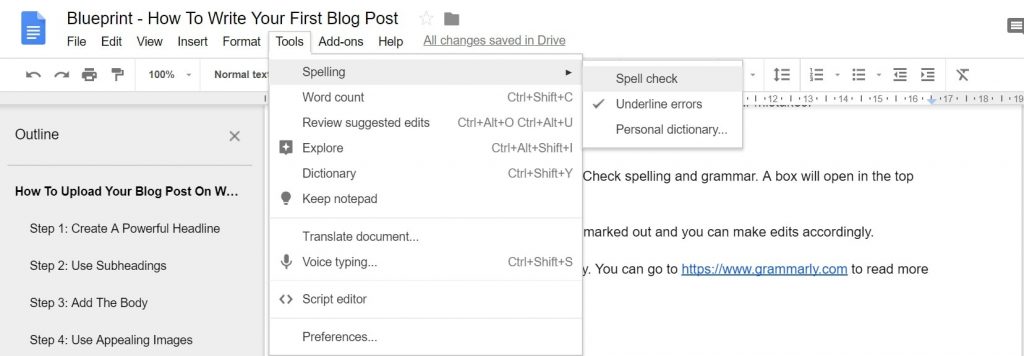
A box will open in the top right corner.

The mistakes in your blog post will be marked out and you can make edits accordingly.
Another tool you can use is Grammarly. You can go to https://www.grammarly.com to read more about it.

(Credit: Grammarly)
You can use Grammarly to check all your written content online, including your Facebook posts.
You can download an extension for Google Chrome or any browser you’re using.
As you’re editing your blog post, they will automatically detect errors and provide suggestions (as shown below):

(Credit: Grammarly)
However, do note that the Grammarly Chrome Extension does not work on Google Docs.
So you will have to manually upload your text either to Grammarly online or through the Grammarly app on your computer.
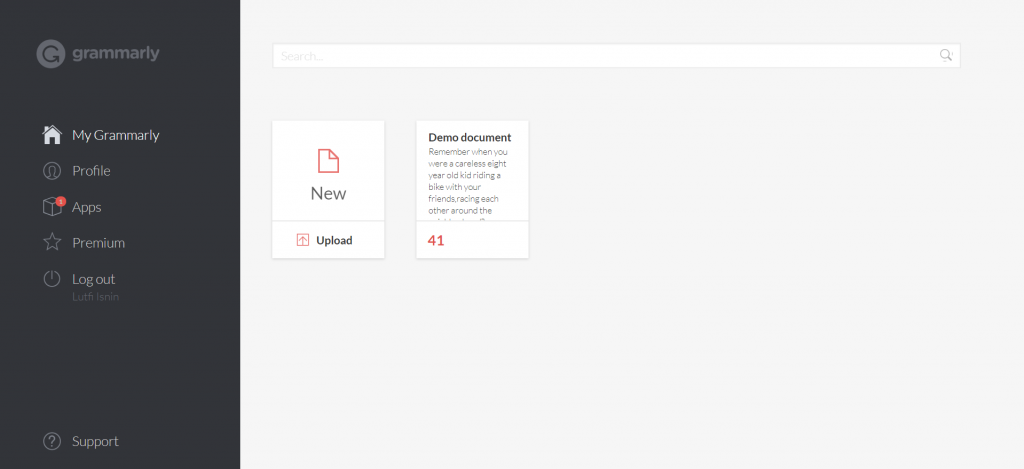
(Credit: Grammarly)
The next thing to check is readability – basically the ease with which a reader can understand a written text.
In the next part, we’ll show you how to upload your blog post on WordPress, one of the world’s most popular Content Management System (CMS).
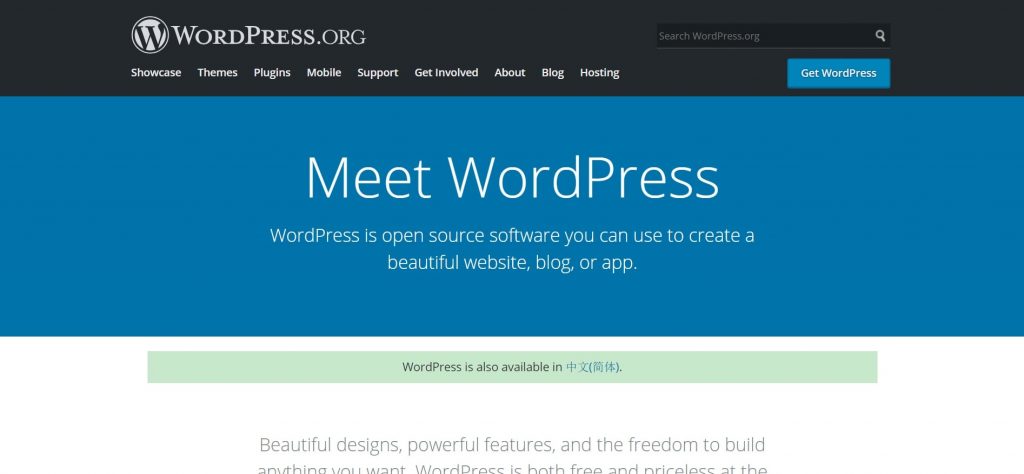
(Credit: WordPress)
WordPress is a pretty easy tool to use. It’s user-friendly and once you get the hang of it, you’ll enjoy creating more blog posts in the future.
You can add images, social media embeds, and YouTube videos to make your article more captivating
Setting up a blog with WordPress will only take a few minutes. After doing all the steps in the next part, you’ll be able to take advantage of its awesome features.
How To Upload Your Blog Post On WordPress
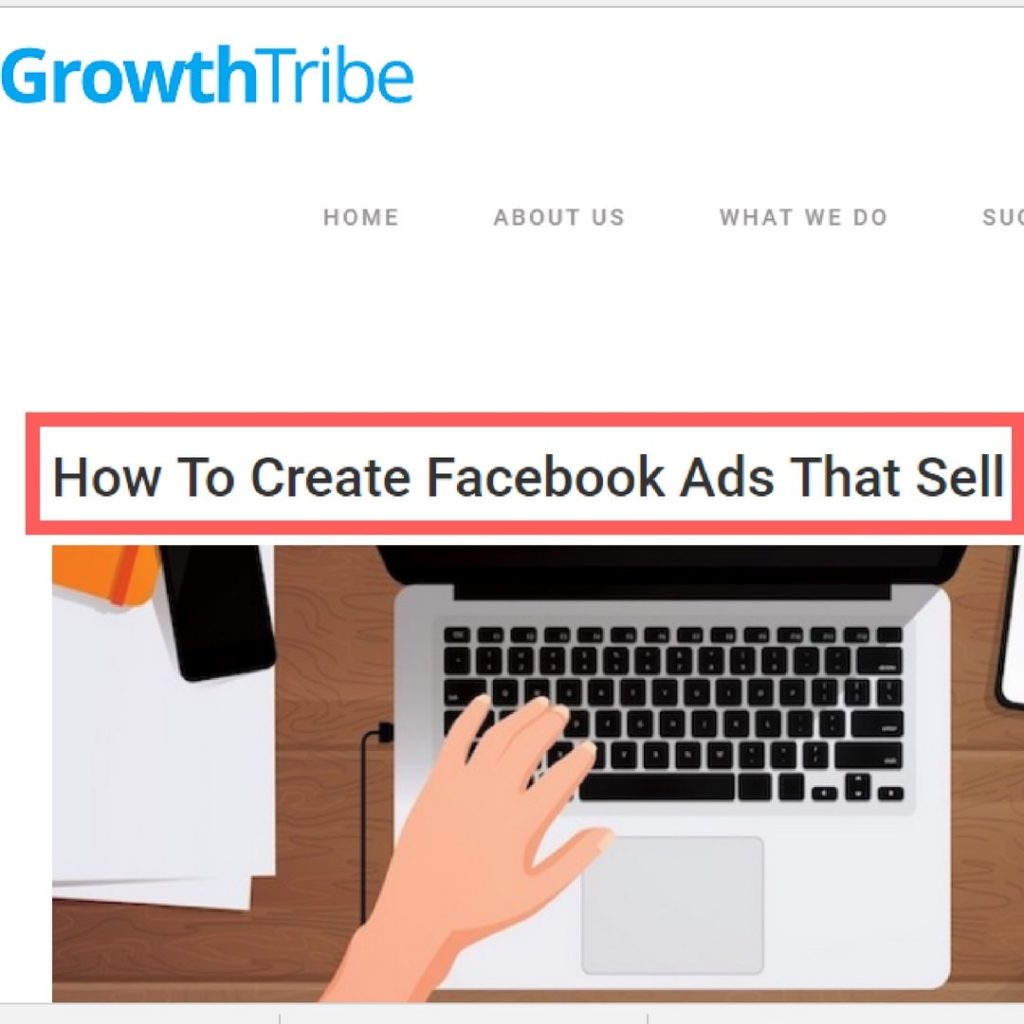
The first step you need to do is think of a headline that will entice the readers.
Don’t rush this step to be sure you come up with a great headline.
Spice up your headline using adjectives and other highly emotional words or ‘power words’ guaranteed to attract your target audience in an instant.
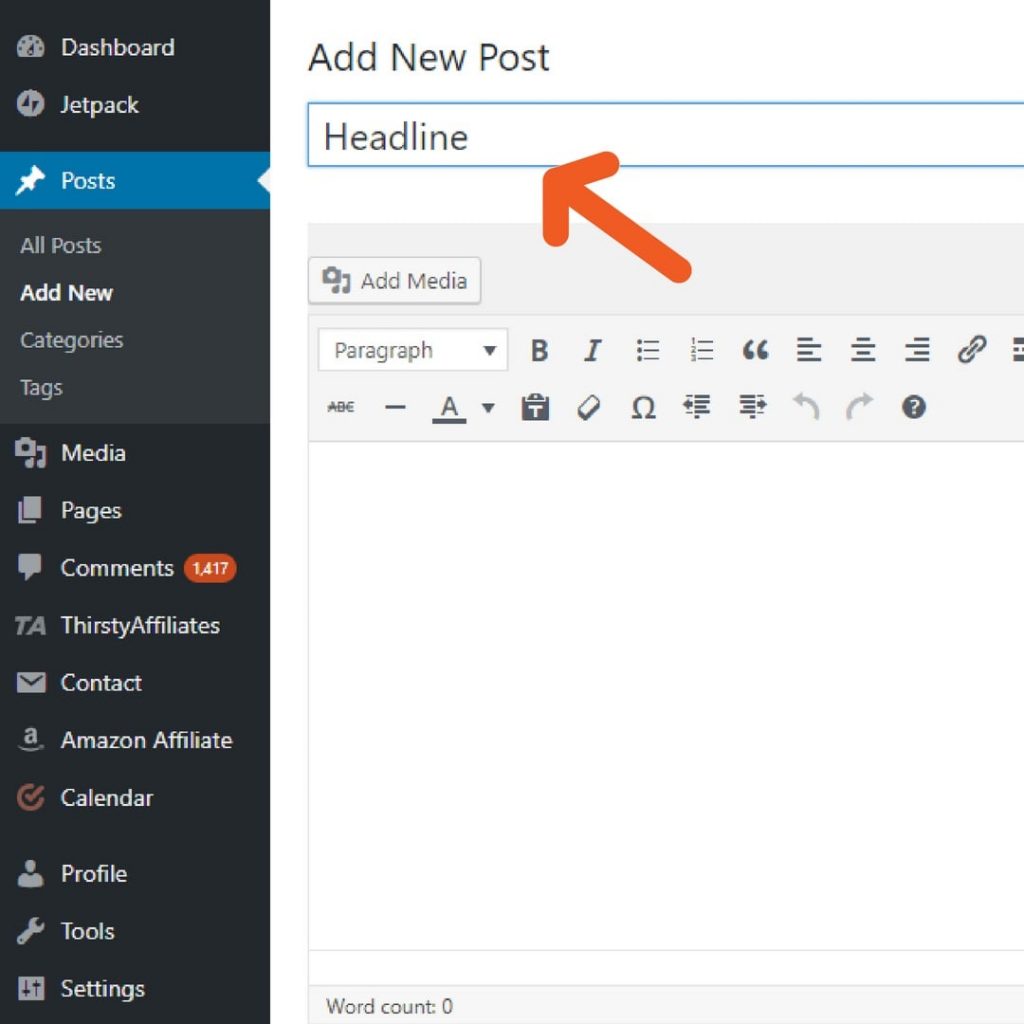
On the upper left side of your WordPress text page, you’ll see a text box where you’re going to put your headline.
Make sure to follow the MLA style of writing a headline where all words start with an uppercase letter.
The image below shows an example of a good headline.
Subheadings are important to make your article visually appealing.
They make an article more comprehensible and specific. Imagine a long article with continuous paragraphs. Looks bland, right?
An article with no subheadings will give a reader an assumption that he or she is about to read a long piece of write-up and that doesn’t sound interesting.
Subheadings can also improve your Search Engine Optimization (SEO) which will help your article rank in Google.
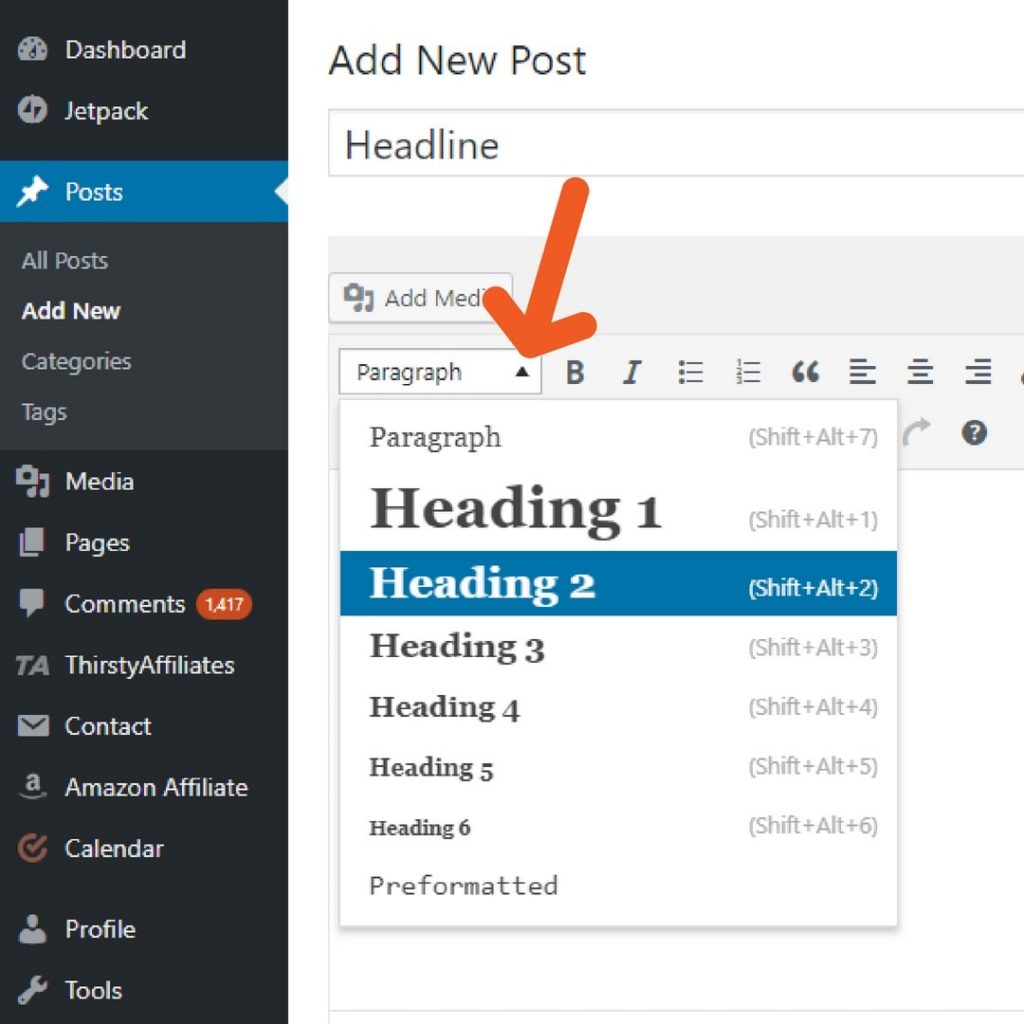
You can write your subheadings in the Heading 2 (H2) or Heading 3 (H3) format which you can easily set and apply in WordPress.
An informative body should provide enough information to your readers.
The body is the ‘meat’ of an article. It should be stuffed with what the headline promises.
Make it precise yet interesting and fun to read. Aside from facts, you can insert funny stories, personal experiences, quotes from your favorite author, or any relevant ideas.
This is your blog, you can write whatever you want as long as it fits your topic.
If you were able to explain your topic clearly, Google’s algorithm is smart enough to understand what you’re trying to express and it will rank your article properly for searches.
Images and other forms of graphics are a very important element of a blog post article.
If you want to drive more traffic, don’t just create a plain text article.
It should be a combination of meaty content, various social-media elements like YouTube videos, and some quality images.
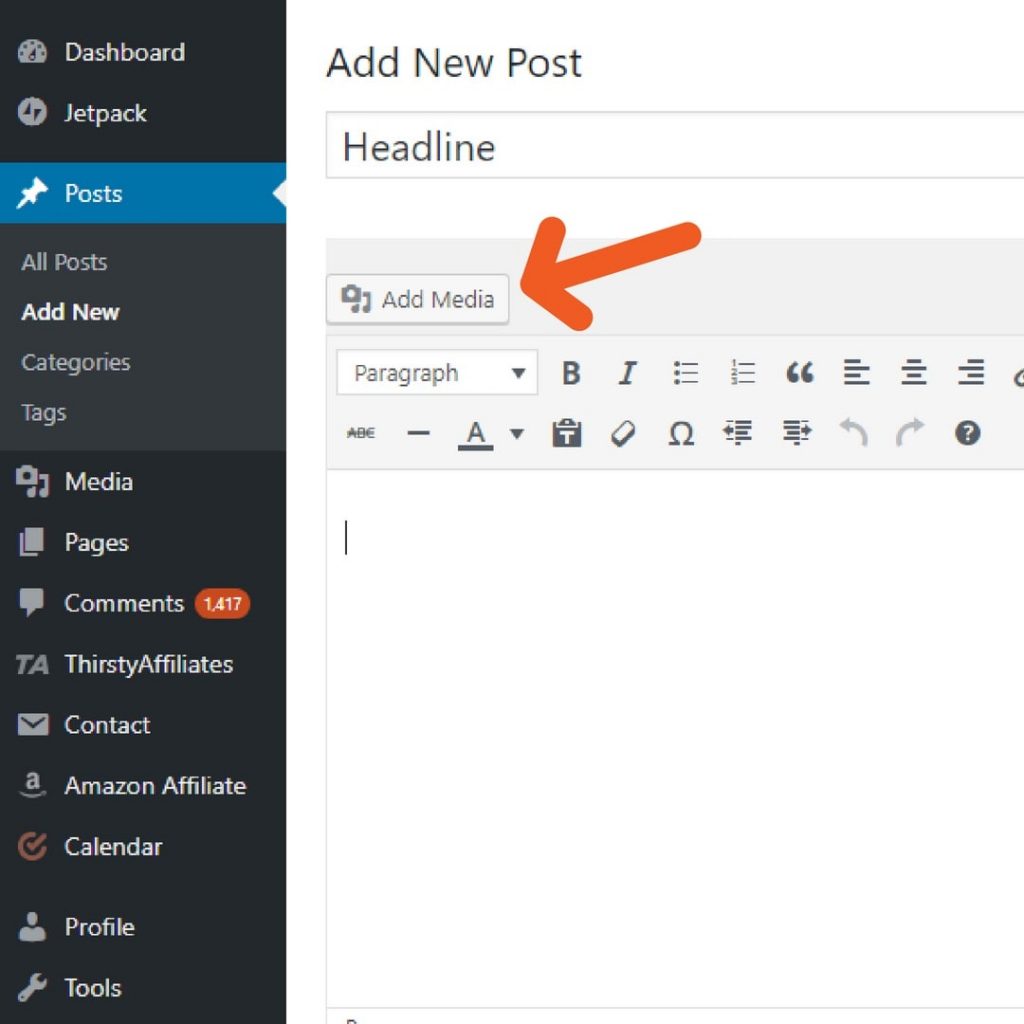
Like subheadings, including these elements will make your content visually appealing.
You can tweak or do some minor editing to your images to enhance their appearance in terms of color, size, and overall look.
Canva is one of the easiest and the most effective graphic-design tool website around.
Read our blueprint on ‘How To Create Attention Grabbing Ad Images’ where we also discussed Canva including a brief introduction, account registration, and more.
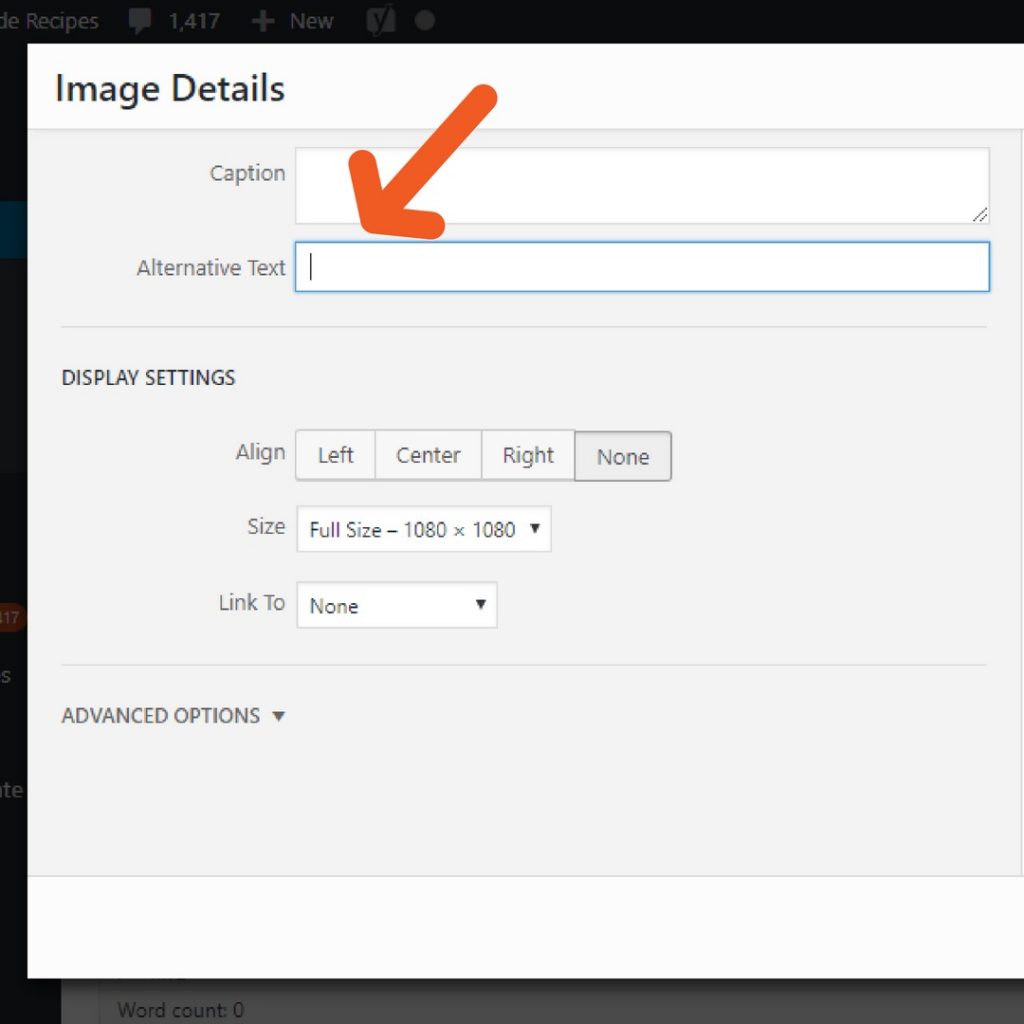
To make sure your image is able to help you get more traffic, you’ll need to optimize things like the image Alternative Text and the image title and description.
Internal links are free advertisement for your content.
You can advertise some of your blog posts articles to other articles on your site to increase the number of views per article.

Since you’re just about to write your first blog post article, you might not have many internal links to add.
However, you can add them in later when you have more blog posts.
A Call To Action (CTA) is a step to motivate an audience to become a potential customer or client.
It’s an appeal or an invitation to your audience to follow your journey and support your upcoming posts.
You can ask readers to leave a comment, ask him or her insight about the topic, encourage him or her to check out a product or service, and to read other articles from your blog.
The image below shows an example of a Call To Action.
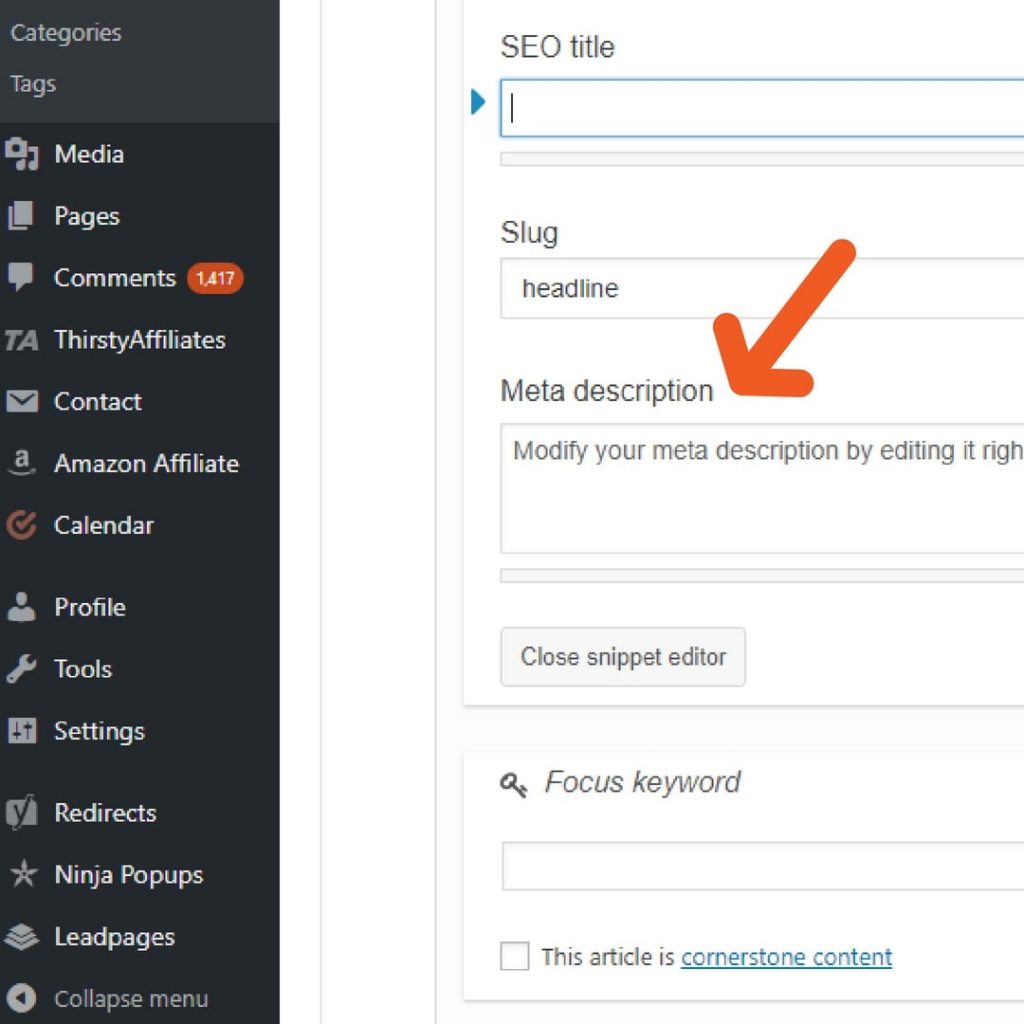
The image below shows an example of a live article and its meta description in Google page.

Your meta description can be edited in the Yoast section of WordPress.
It’s the snippet Google displays in search results. An effective meta description can consist of 2 to 3 powerful sentences.
Each sentence should sound convincing, interesting, and contain intriguing characteristics that can get you multiple clicks.
Writing an introduction can be tricky.
This is the first part of the blog post the readers are going to read. It will dictate whether they want to read your article until the end or not.
Your introduction should not be too long but it should get the reader interested to read the rest of the blog
It should cover what your article is all about.
Tip: Don’t write your introduction first. This is the reason why we placed this on the last step.
Remember, your introduction should wrap up your whole article.
You won’t be able to write it properly unless you’re completely done writing the body.
Save the best for last!
That’s how we do it!
What’s Next?
Now that you’ve created your first blog post, you can run traffic to it.
One of the ways you can do this is by using Facebook Link ads.
If you’d like to learn how to write Facebook ads that will bring quality traffic to your blog post, check out our ‘How To Create Facebook Ads That Sell’ blueprint.